How to Book Charging Session from Servotech EV Charging App
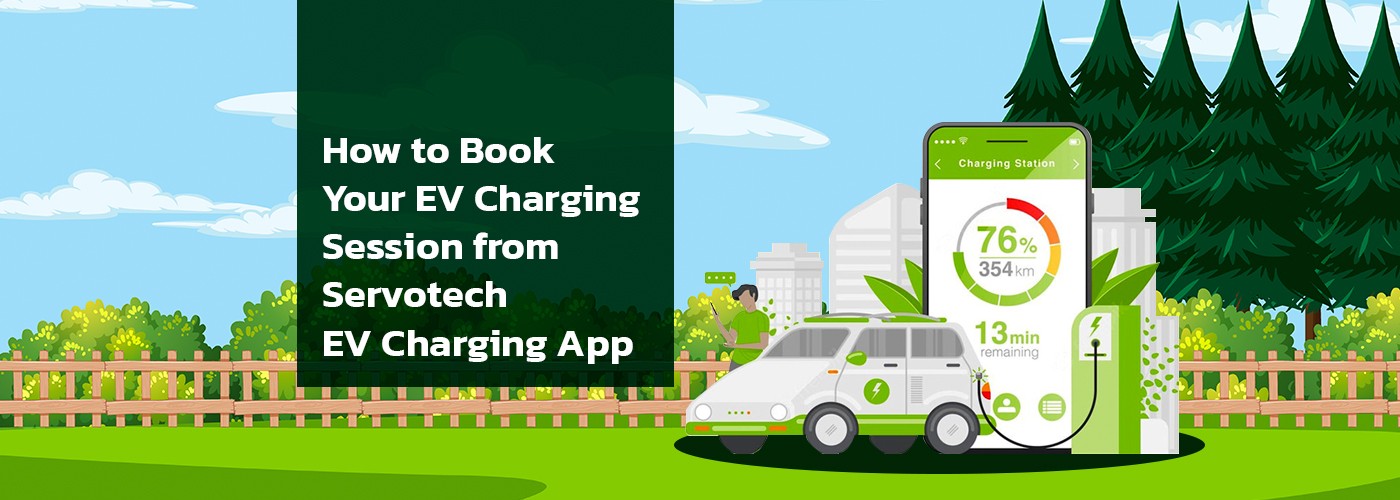
With electric vehicles (EVs) gaining widespread popularity as a sustainable means of transportation, the demand for dependable and user-friendly charging infrastructure has never been greater. The Servotech EV Charging App stands out as a robust solution, seamlessly accommodating both AC Chargers and DC Chargers, offering EV owners the ability to effortlessly reserve charging sessions, discover nearby charging stations, and effectively oversee their EV’s charging requirements.
Step By Step Process To Book Charging Session from Servotech EV Charging App
Here, we will explain the step-by-step process to book EV charging sessions using the Servotech EV Charging App, ensuring that you maximize the benefits of your electric driving journey.
Step 1: Download the App
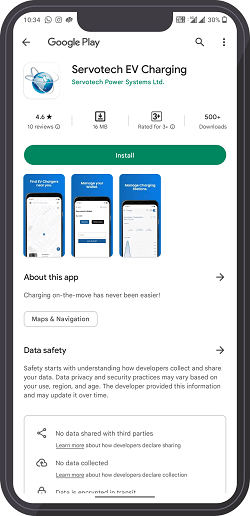
To get started, head over to your device’s app store, whether you’re using an Android or iOS device, and download the Servotech EV Charging App. It’s your gateway to effortless EV charging. Available at both platforms Google Play Store or App Store.
Step 2: Setting Up Your Account
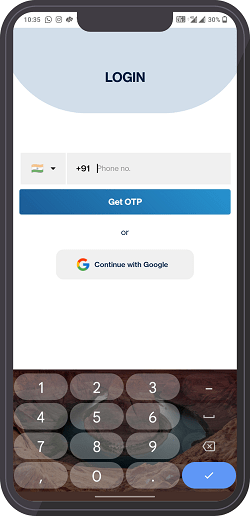
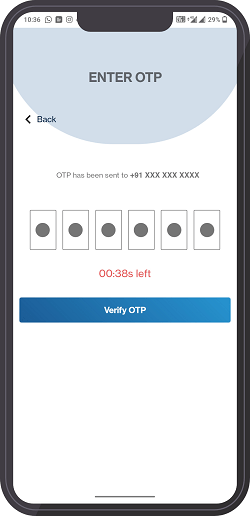
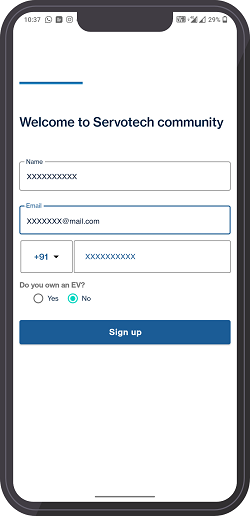
If you already have an existing account, just sign in. If you are a new user then log in using your mobile number or through your Google account directly.
Step 3: Locate, Filter, Choose your Charging Stations
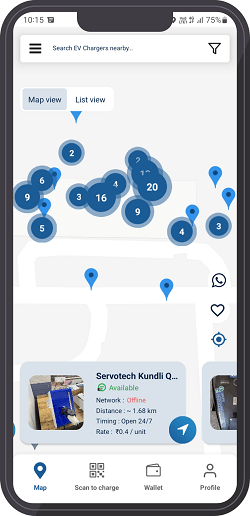
Log in to the app and view the map displaying nearby EV charging stations. Employ filters to refine your search based on charger types and availability. Select the ideal charging station by tapping its icon on the map.
Step 4: Book and Confirm your Charging Session
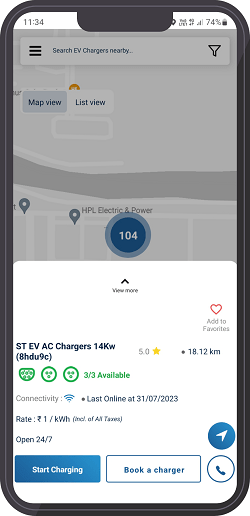
After tapping on the icon, you will be provided with two options; start charging or book a charger. If your chosen charging station either an AC Charger or a DC charger offers reservations, you can book your charging session by selecting a date and time. Double-check your booking details, which include the date, time, and station location, to ensure accuracy. Confirm your reservation and get ready to charge your EV.
Step 5: Initiate Charging
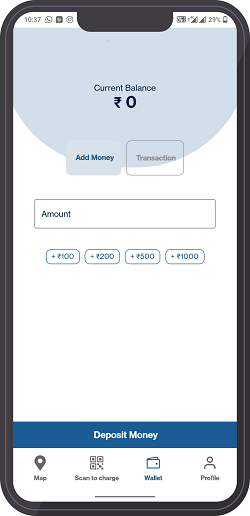
Recharge your Servotech app wallet with a minimum balance of ₹ 25 for charging to take place. Using the Servotech EV Charging App, initiate your charging session by following the on-screen prompts. Depending on the station, this may involve scanning a QR code or inputting a charging code received during the booking process.
Step 8: Easy Payments
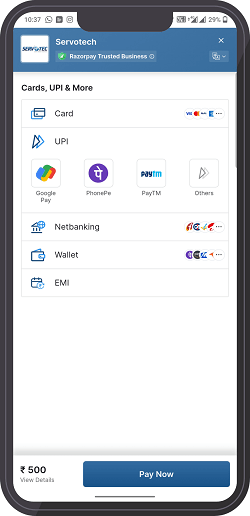
The App will calculate your payment based on your EV’s charging needs. If your balance is insufficient, the app will automatically pause the charging process. Charging will only occur based on the funds available in your Serovtech wallet. Additionally, you will receive a payment confirmation or receipt for your records.
Step 6: Monitor Your Session
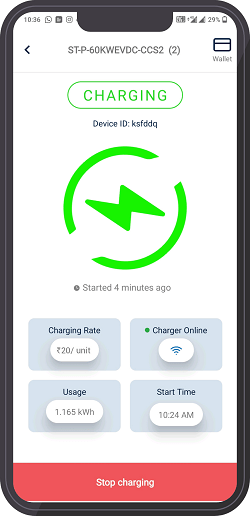
While your EV is charging, stay informed about your session’s progress directly through the app. You’ll have access to crucial details such as the charging rate, estimated remaining time, and the total cost incurred.
Step 7: End Your Session

Once your EV is fully charged or you decide to conclude the session, utilize the app to end the charging process. You can do this by clicking on the stop charging button displayed at the end of the screen.
Conclusion
With the Servotech EV Charging App, booking and managing your EV charging is a hassle-free and user-friendly process. By following these steps, you can ensure that your EV is always charged and ready to take on the road, contributing to a cleaner and more sustainable transportation future.
Read also: The Complete Guide To DC Fast Charging

